Are you thinking about adding an outdoor fireplace to your home? When thinking of a sturdy fireplace, most imagine one comprised of bricks or stone. Building a fireplace adds not only character but also warmth on a chilly night. Our Orlando masonry experts review what to consider when starting the planning process.
Materials Needed:
Step 1: Determine Your Design
In order to determine the amount of materials needed, you should take some measurements of the area you wish the fireplace to be. Your tape measure will help you determine the length, width, height, and depth of your fireplace. Once your dimensions are known, you should write them down for easy reference later. Next, you’ll want to determine your fireplace style. If you are looking for a more traditional aesthetic, brick may be the masonry product to consider. Otherwise, you can choose a natural or manufactured stone for a contemporary look. Lastly, you’ll want to determine if you want a wood-burning or gas fireplace.
Step 2: Foundation
It is important that your fireplace has a safe and flat area as its foundation. If your designated area doesn’t have a concrete slab, you can create one by digging a ditch, flattening the area, and then filling it with concrete. Once you have a hard concrete surface, you need to cover it with a layer of concrete cinder blocks with the opening toward the top of the chimney for ventilation. Between each cinder block, you will need to add a layer of mortar.
Step 3: Facade Frame
Referring to your design notes will aid you in creating a facade frame. Take the pressure-treated lumber, cut with the chop saw to the dimensions you recorded and assemble using a nail gun or with a drill.
Step 4: Cement Board
Using the chop saw again, cut the cement board to match the frame dimensions. Attach the frame and cement boards with screws and a drill.
Step 5: Brick Pavers or Stacked Stone
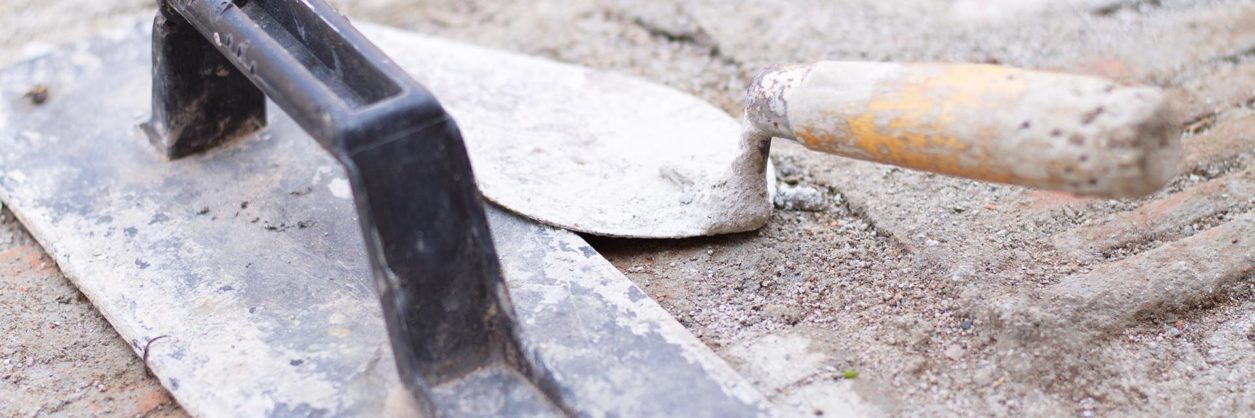
Take your bucket and line the plastic sheeting inside. Mix the mortar in the lined bucket based on the package directions. Your trowel will help you transfer the mortar from the bucket to the framed cement board. By applying the mortar in sections, it will allow you to ensure each piece is level before the mortar dries out. It is imperative that you press the brick or stone material into the mortar and hold it in place until it can adhere on its own. When applying your material on the cement board, you should make sure there is no space between them.
Step 6: Chimney Cap
Securing the chimney cap to the flue can be done with screws. Please note, that some caps may require masonry anchors or bits.
Now that you have learned the materials and steps needed to create an outdoor fireplace for your home, thinking of the warm glow that your fireplace can produce may ignite your project planning. Our Orlando masonry experts are ready to help you will all your masonry product needs! Stop by our full-service masonry supply house at 10500 Rocket Court in Orlando, Florida to check out what’s available. Already know what you want and don’t want wait? Give us a quick call at 407-845-9042 or send us a quick message online so our helpful and courteous employees can help right away!
 info@bedrockorlando.com
 Phone: 407.859.1300
 10500 Rocket Court - Orlando, FL 32824